Background Information – Silent Movies
From “Silent Film” in Wikipedia: A silent film is a film with no synchronized recorded sound, especially with no spoken dialogue. In silent films for entertainment the dialogue is transmitted through muted gestures, pantomime, and title cards. The idea of combining motion pictures with recorded sound is nearly as old as film itself, but because of the technical challenges involved, synchronized dialogue was only made practical in the late 1920s with the perfection of the Audion amplifier tube and the introduction of the Vitaphonesystem. After the release of The Jazz Singer in 1927, “talkies” became more and more commonplace. Within a decade, popular widespread production of silent films had ceased.
Online examples of Silent Movies:
Generally, Silent Movies share the following characteristics:
- The only sound is music – you cannot hear what the actors are saying or doing.
- The acting is very over-the-top to convey the story without dialogue.
- The story is simple and straightforward.
- Dialogue may appear as “title cards.”
In traditional silent movies, the score was created after the movie was filmed and edited – often performed live in the movie theater by a local piano or organ player. In this project, we’re going to flip that process on its head, starting with a particular piece of music and creating a silent movie around it. Think of it as the traditional “draw a picture of what this music makes you feel/think” project on steroids.
Before You Begin
Because movie creation is a rather complex task, there are lots of possible ways to go about this project, and it can be adapted for all levels, abilities, and time constraints. Answer the following questions before you begin to help you determine the best options for you:
- What is the age/ability level of your students?
- What are your main educational goals for this project?
- How much time can you devote to this project, both in class and outside of class?
- How much of this project do you want students to complete on their own versus how much are you willing to do yourself (or with an older student assistant)?
- How much computer editing do you want to incorporate in this project? Will this editing be done by the instructor or the students?
- What technological resources do you have available, both for filming, editing, and sharing your films?
- Do you have a larger class that you want to break up into groups? Will the entire group be working on the project together or will you have students divide tasks amongst their group members?
- What is the final format for this silent movie and where will it be presented? Do you want it to be performed live? Will it be posted to YouTube (you will need students’/parents’ permission to do so)?
Keep your answers to these questions in mind as you go through the following steps:
1. Select music.
You can provide music for your students or give them a few options to choose from.
Ideally, the music you select will be:
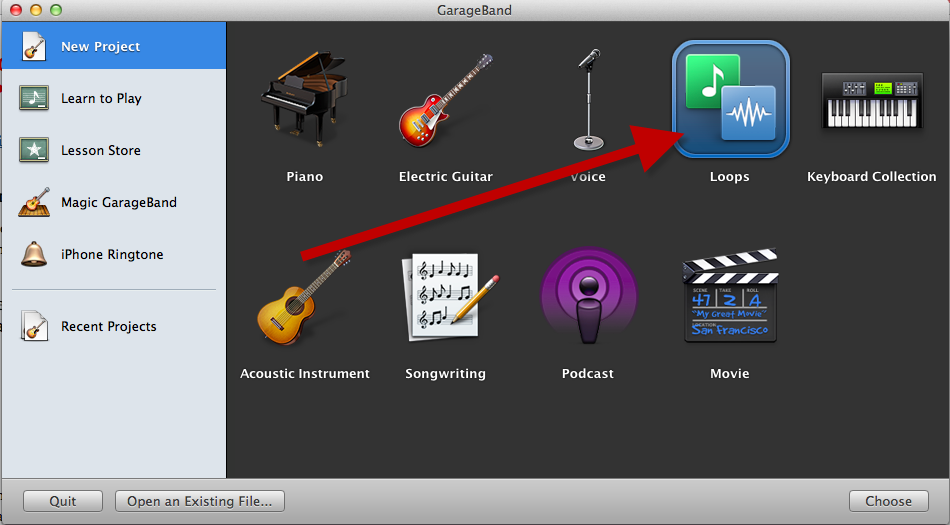
- short (1-2 minutes–use GarageBand to trim down music to excerpts if necessary)
- instrumental
- unfamiliar (so students do not already have a story in mind beforehand)
- programmatic (not in verse/chorus format)
- evocative
Possible sources for this music include:
- movie scores
- orchestral ballet music
- traditional silent movie music (Look for the album “Play Me a Movie” in iTunes)
- music created by students
2. Concoct the plot of your movie.
Story lines should be very simple, but have a definite beginning, middle, and end. Keep in mind the actors you have available as you create your characters and plot. A sample story for a melodramatic short silent movie might be:
- Beginning: Hero and Heroine are in love. Villain kidnaps Hero and ties him to the railroad track.
- Middle: Heroine has to find hero, which she does with the help of some friendly Woodland Creatures. But the knots are tight and the train is coming.
- End: Heroine frees hero from the train tracks just before the train zooms past. Hero, Heroine, and Woodland Creatures celebrate. Villain cries and pouts.
3. Write the “script.”
This will not look like a traditional script since there are few to no spoken lines. Instead it should read more like a story or extended stage direction. If you want to include title cards, determine what they will say and where in the story they will go.
Optional: Create a story board for your movie. Story boards look like comic books and contain a picture for every shot of the movie. Every event in your plot should have one or more story board pictures. Here is a GREAT video from Pixar that explains how story boards are created and turned into “real movies”: http://youtu.be/QOeaC8kcxH0 NOTE: If you would like to avoid having to video record or do your movies “live” you can create an entire silent movie by using storyboarded images and music only.
4. Plan and rehearse your movie.
If you plan to do little to no video editing–or want to perform your movies live for an audience–this step will be very important. (If you are creating your movie from story board only, you can skip to step 6.) Ideally, students will be able to “perform” their movies to the music, like a dance piece from start to finish. If you want to include title cards, plan “freezes” into the movie action where the titles can be added. During this step, you will also figure out costumes and set, which can be anything from drawing-on-a-marker-board simple to rented-or-custom-made-costumes elaborate.
Variation: if you are planning on doing extensive video editing, with multiple locations and points of view, it may not be possible to perform it “live,” in which case this step becomes more about planning the video shoot and editing process than rehearsing, though you will still need to figure out set and costumes.
5. Film movie.
You can film your movie with anything – laptop, ipad, digital video camera, digital camera, flip camera – as long as you have a reliable way to transfer the movie files to your editing computer. Hint: test your camera and computer beforehand! If you want to avoid doing much computer editing, set the camera on a tripod and record the movie performance in one or two takes in a single shot. If you want to do more extensive editing later on, you can shoot individual scenes from various angles and in multiple takes.
6. Edit movie (and add title cards).
HINT: If you have never used iMovie before, begin by watching this excellent introduction: http://youtu.be/0QrPeU-da8w (It is based on iMovie 09, which is the version I have as well.) The iMovie interface is intuitive and user-friendly, even for beginners, but you may want to practice a bit beforehand if you plan on doing or coaching students to do extensive computer editing. Also, there is an even more basic iMovie app that can be used on an iPad.
- Import video clips/images. This process will be different depending on what you use to record your video. You can also choose to record video right into iMovie by clicking on the camera icon.
-

Choose one of the “Import” options from the file menu to add video clips into iMovie

Click the “camera” to record video directly into iMovie.
- Add video clips and images to the Project Area and put them in the proper order for your movie. (If you are doing extensive computer editing, this will be your most time-consuming step.) As you are adding video clips to the Project Area, err on the side of too long, rather than too short, as it is easier to trim clips in the project area than it is to lengthen them again.
- Edit video file(s) to remove sound (and color!) Click on a clip in the Project area to highlight it, then expand the snowflake-shaped button to see your editing options.

- Select “Audio Adjustments” and turn the volume from your film clip to 0.

Change Volume to 0 to remove sound from the movie.
- Select “Video Adjustments” and move the “saturation” slider to 0 to change the video to black and white.

Change saturation to “0” to make clip black and white.
- (Optional) Select “Clip Adjustments” and select the “Aged Film” from the Video Affects menu for an old-fashioned look – you can also experiment with other effects if you wish.
- Add title cards (if necessary) to your movie. This can be done in several ways: You can use the “Titles” feature in iMovie to create your titles there, or you can create title card images (either by photographing hand-made cards, or using some sort of software) and import them into iMovie, either via iPhoto and the “add photo” box or by dragging the image files into your Project area from another application, and then selecting “Insert.”

One way to add “title cards” is with the Titles tool.

Or, you can create title cards in some other way, import them to iPhoto and add them from here, or just drag them into the Project from another application.
- Add your music and adjust video clip duration if necessary. If your piece of music is in iTunes, you can add it directly from the “Music and Sound Effects” menu. Otherwise just drag the audio file into the project. Either way, make sure you have turned the entire project area green before you “drop” the audio file into the project. You may find once you have added the music, that you need to shorten or lengthen some of the clips to make the music line up exactly.

Drag the audio file (either from the Music menu or from your Desktop) into the Project Area in such a place that the entire Project turns green. This will overlay the audio onto your entire movie.
- (Optional) Add an opening title and closing/credits screen to your movie using the “Title” menu.
7. Share your movie.
You have many options for how your movie can be shared. If you are only showing them only within your class or only from the computer that created created them, you can play the movies from iMovie by clicking the “Play Project Full Screen” button.

Click this to view your movie full screen.
If the movies need to be accessed elsewhere or sent home with students, you can use the “Share” menu to send the movies to iDVD (which burns DVDs), iTunes, or YouTube. (Note: check with your school/organization before posting student work to YouTube!)
8. Enjoy your Silent Movies!
Software used: iMovie ’09, Version 8.0.6
Possible Cross-Subject Correlations: History (create silent movies that tell the story of a historical figure or event, Literature (create silent movies that tell all or part of a famous fictional story), Music History (use the silent movie to tell a story about the of the music’s composer)
Amanda Louise Miller is pursuing an MM in Music Composition at Oklahoma City University.
She has a Bachelor’s Degree in Music Education and extensive experience working in online learning and faculty development.
Contact her at amandalouisemiller@gmail.com